
1. Getting Started with New Web Tests #

You can start the app test by clicking on the third item ‘New Web Test’ on the left menu bar.
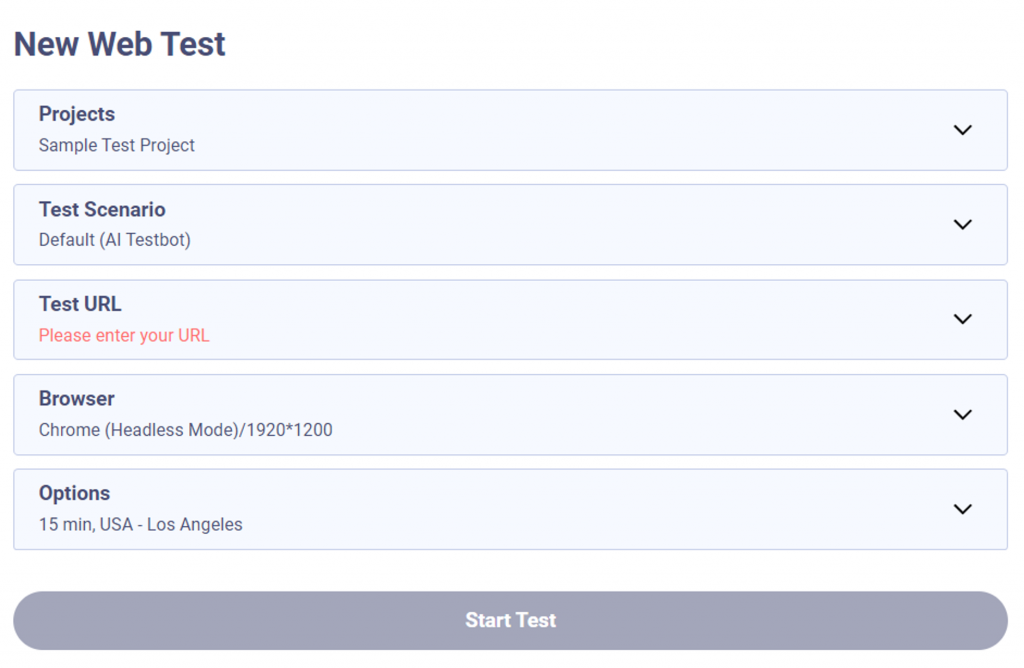
Set the test conditions in 5 drop down menus from ‘Project’ to ‘Options’. Optionally, for more advanced user, additional ‘Advanced Options’ features are available.
Tip! Please keep in mind that any setting of current options may hint and reset proceeding options responsively.
2. Select Project #

Choose a project where your test will be stored. The Sample Test Project is set by default.
You can create a new project with the “Create New Project”.
3. Set up test scenario #
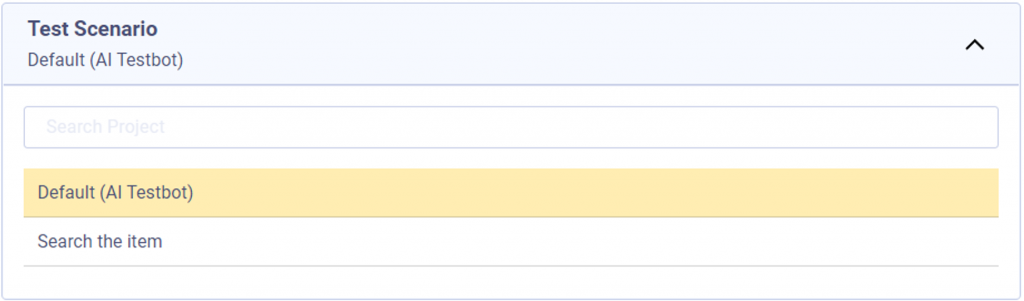
Set up a test scenario. The default scenario (autonomous test navigation) is set by default, and you can also upload and set up a custom scenario created with the desired navigation route.
Note: Scenario-based web testing of web page testing is currently under development.
4. Set test URL #

Enter the URL address of the home page where you want to conduct the test.
ex) https://apptest.ai
5. Set up browser #
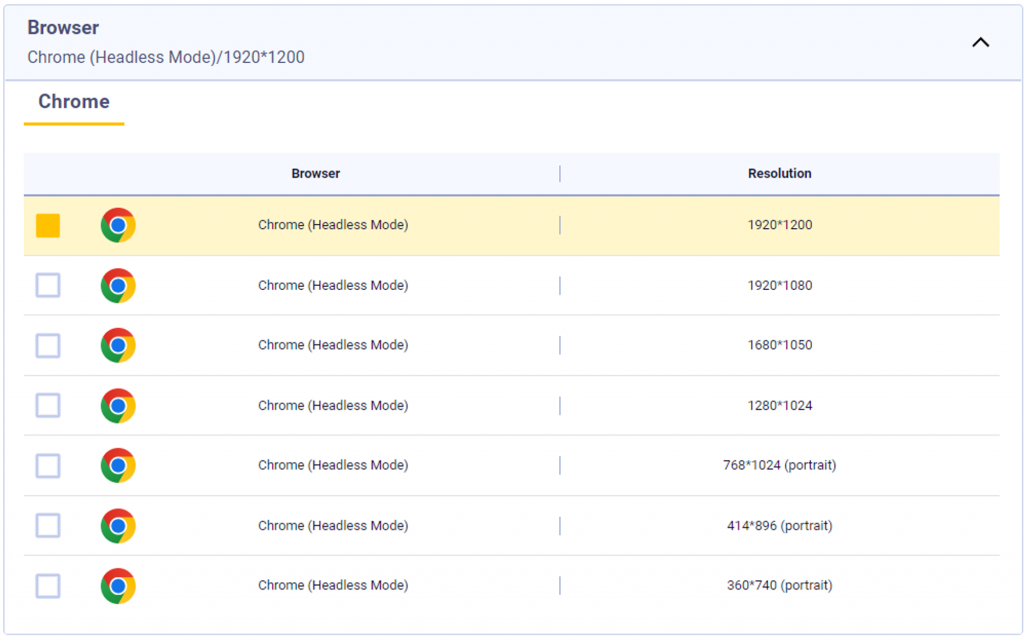
You can set the type and resolution of the browser to perform the navigation test.
1900*1200 is automatically selected at the start of the test, but you can change it to one other resolution.
6. Set Options #

Set other test options.
① Test Timeout: You can set the timeout value for testing from a minimum of 5 minutes to a maximum time limit in your account. By default, 15 minutes is set.
② Set Test Country: Lets you set the country and region within the site where you want to conduct the test.
③ Set Login Information: You can set the default login information to enter when you encounter a login window during a test.
7. Run test #
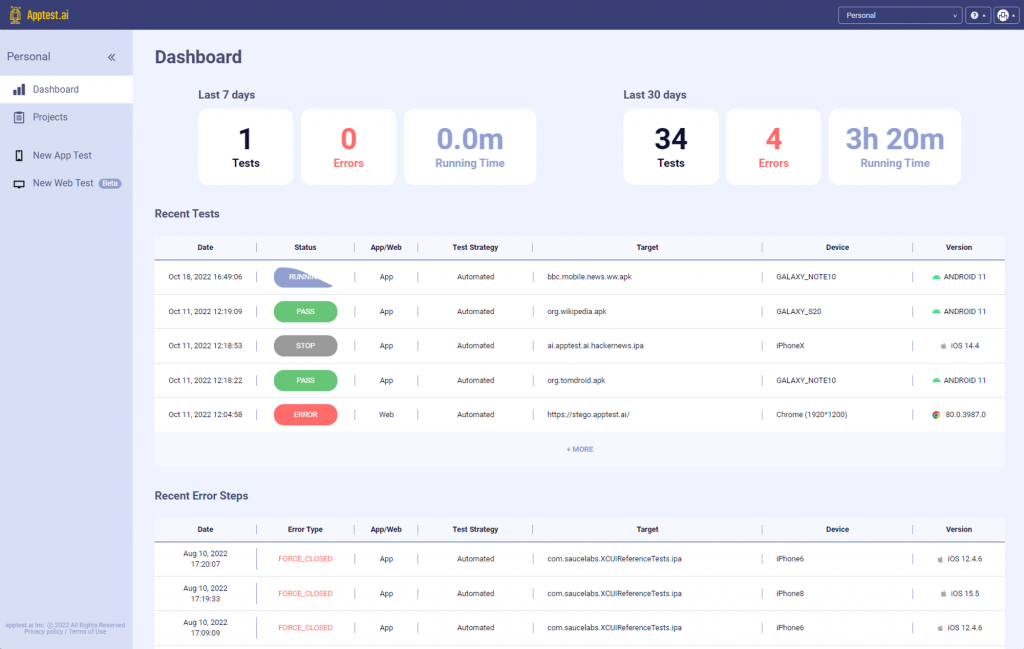
When you complete the test setup, the start test button at the bottom of the page is activated.
Clicking it will start testing and then it will switch to the dashboard page to view the real time progress of the testing in the ‘Recent Test’ table.